How to Patch a Large Hole in Drywall
For holes over about 6", cut the damage to a square, add support behind the edges (drywall repair clips or wood strips screwed inside the wall), screw in a matching piece of drywall, then tape the seams and apply three coats of joint compound. For holes up to about 8", a California patch skips the hardware by using the drywall's own paper as the tape.
- Time
- 2–3 h of work over 2 days
- Skill
- Moderate
- Drying
- 1–2 h with setting compound, 12–24 h with premixed

What you need
14 items needed · tick what you already own
- Cutting loose paper, scoring drywall, trimming torn tape and opening cracks into a shallow V.
- Cutting damaged drywall out to a clean square or rectangle before you patch.
- Filling holes larger than about 6", and California (butterfly) patches.
- Holding a new piece of drywall in a cut-out hole when there's no stud to screw into.
- Attaching patch pieces and backer boards, and re-securing popped nails.
- Driving screws into backer boards, repair clips and studs, and fixing nail pops.
- Seams, inside corners and recurring cracks. It's stronger than mesh once bedded properly.
- Self-sticking tape for cracks and flat patch seams. Easy for beginners because nothing has to be bedded first.
- Filling deep holes and gaps, the first coat over mesh tape, and repairs you want to finish in one day.
- Skim coats over patches and tape, and feathering repairs wider. Sands easily.
- Bedding tape, first coats over patches and cracks, and most repairs up to about 4" wide.
- Wide final coats that feather a patch or seam into the wall so it disappears under paint.
- Sanding small patches by hand with less dust and fewer gouges than sandpaper.
- Sealing patched compound so paint doesn't look dull over it (flashing), and blocking water stains.
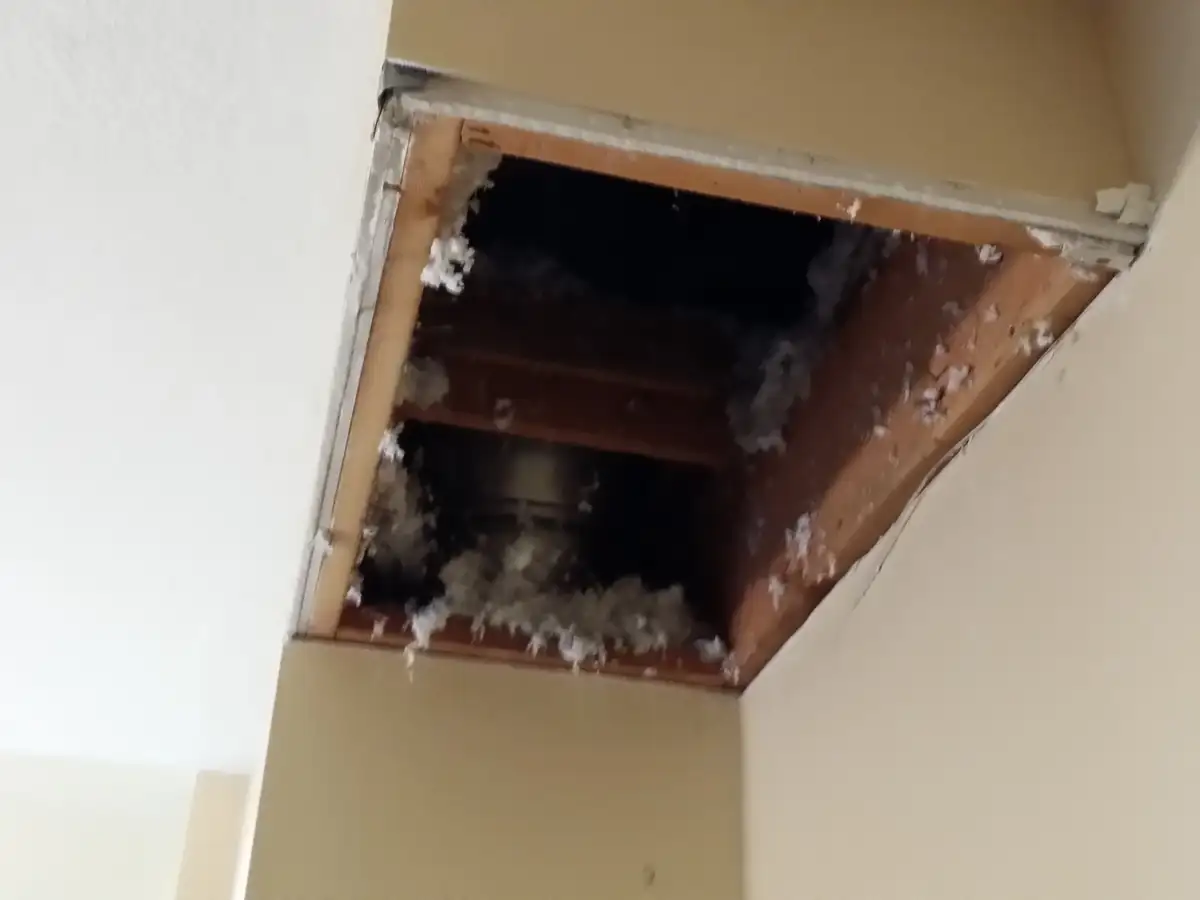
Before you cut: turn off power to any outlets or switches on that wall. Cut a small inspection opening first and look inside with a flashlight for wires, pipes and ducts. Never cut blind next to an outlet, above a sink or toilet, or on a wall shared with a bathroom.
Older homes: in homes built before 1980, have the joint compound and any texture tested by an accredited asbestos professional before you cut. EPA advises against taking samples yourself. If your home was built before 1978, test the paint for lead before you cut or sand it (EPA, Lead-Safe Practices for Do-It-Yourselfers, checked November 2026).
Three ways to patch a large hole
| Method | Best for | Needs | Pros | Cons |
|---|---|---|---|---|
| Drywall repair clips | Holes about 4" to 16" between studs | Clips, screws, drill | Fast, no wood, very flat | Clip tabs must be snapped off and covered |
| Wood backer strips | Any size up to about 16" wide | 1×3 or scrap wood, screws, drill | Very strong, uses scrap | Strips can push the patch proud if not flush |
| California (butterfly) patch | Holes up to about 8" | Drywall scrap, knife | No screws or tape | Paper flange tears easily, harder to keep flat on bigger holes |
| Replace to the studs | Over about 16", water damage, crumbling edges | Drywall sheet, screws, tape | Solid, long-lasting | More cutting and more finishing |
Holes under 6" with firm edges are easier with a self-adhesive mesh patch. That method is in how to patch drywall. Buy a drywall patch piece that matches your wall thickness. Most walls are ½"; ceilings and garage walls are often ⅝". Check the cut edge of the hole with a tape measure.
Can you patch a large hole with mesh alone?
Self-adhesive mesh patches come in sizes up to about 8" or 12", and they work on a large hole if the edges are firm. The trade-off is flex: mesh over a wide opening has nothing behind it, so it gives when you press on it and the compound can crack. For a hole over about 6", use mesh tape on the seams of a new drywall piece instead of mesh across the hole.
Method 1: Drywall repair clips
- Cut the hole square. Draw a rectangle around the damage with a level or straightedge. Score the lines with a utility knife, then cut through with a jab saw. Square holes are much easier to patch than ragged ones.
- Install the clips. Slide a clip onto the edge of the hole about every 8–12", with at least one per side. Drive the supplied screw through the clip into the wall about ¾" from the edge, just below the surface.
- Cut and fit the patch. Cut drywall to fit the opening with about ⅛" gap all around. Set it in and drive a screw through the patch into each clip. Sink the heads just below the paper without tearing it.
- Snap off the tabs. Most clips have a break-off tab sticking out of the wall. Snap it off by bending back and forth, then check nothing stands proud.
- Tape and mud. Follow the finishing steps below.
Method 2: Wood backer strips
- Cut the hole square. As above, mark a rectangle, score it and cut it out.
- Cut the backers. Cut two strips of 1×3, furring strip or ½" plywood about 4" longer than the hole's height.
- Screw them in. Slip a strip inside the hole along one edge so it overlaps the opening by half its width. Hold it tight against the back of the drywall and drive 1¼" drywall screws through the wall into it, one near each end. Repeat on the other side. Keep screws about ¾" from the cut edge so they don't crumble it.
- Fit the patch. Cut drywall to fit with a ⅛" gap and screw it to the strips every 4–6".
- Tape and mud. Follow the finishing steps below.
If one side of the hole lands on a stud, cut back to the stud's center and screw the patch straight to it. You only need a backer on the other side.
Method 3: California patch
- Cut a square hole. Keep it to 8" or less. Larger flanges sag and wrinkle.
- Cut the patch piece. Cut a piece of drywall 2" larger than the hole on every side. On the back, score a line 2" in from each edge.
- Peel back the core. Snap along each scored line and peel the gypsum away from the front paper. You end up with a plug that fits the hole and a 2" paper flange around it. Trim the plug if it's tight.
- Set it in mud. Spread a thin coat of compound around the hole, about 2½" wide. Press the plug into the hole and smooth the paper flange flat into the wet compound with a 6" knife, working from the center out to squeeze out air and excess mud.
- Finish. Let it dry, then follow the finishing steps below, skipping the tape.
Taping and finishing the patch
- Tape the seams. Use paper tape bedded in compound, or self-adhesive mesh tape with setting compound over it. Run each piece the full length of a seam and overlap the corners. Paper tape is stronger. Mesh is easier for beginners.
- First coat. Cover the tape with a thin coat using a 6" knife. Setting compound (20 or 45 minute) lets you move to the next coat in about an hour and resists cracking.
- Second and third coats. Use a 10" or 12" knife and all-purpose compound, each coat 2–3" wider than the last. Let each dry fully, usually overnight. A 12" hole often ends up as a finished area about 24" across.
- Sand, prime and paint. Sand with a fine sponge, check with a flashlight held flat to the wall, prime, then paint. Match texture before priming if your walls aren't smooth (matching texture).
When to replace a section to the studs
Patching stops making sense when:
- the hole is wider than about 16", or there are several holes close together;
- the drywall is soft, crumbling or stained from a leak (see water-damaged drywall);
- the edges won't hold a screw.
Find the studs on each side with a stud finder or by tapping, then cut the opening back to the center of each stud so the new piece has ¾" of stud to land on. Screw it every 8" along the studs and add a backer strip at any top or bottom edge that doesn't land on framing. Taping is the same as above, with longer seams.
Call a pro if: you find wet insulation, mold, a dripping pipe, or wiring that's damaged or loose inside the wall. Fix the cause before you close it up.
What's in a drywall repair kit for large holes
Large hole kits usually bundle a few repair clips and screws, a small piece of drywall or a rigid patch, and sometimes tape and a knife. They're handy for a single repair, but the drywall piece is often 1' square or smaller. For anything bigger, buy a 2' × 2' drywall patch piece and a pack of clips instead. Compare options in best drywall repair kits.
Related repairs
- How to patch drywallHow to patch a hole in drywall: the right method for nail holes, doorknob holes and big holes, the tools you need,…
- Small holesHow to patch small holes in drywall with spackle: nail holes, screw holes, anchor holes and dents up to 1½". When…
- Ceiling repairCeiling drywall repair step by step: fix ceiling cracks, patch holes from fixtures, work safely overhead, handle…
- Crack repairDrywall crack repair step by step: why cracks come back, when to tape, how to fix hairline cracks, wall-ceiling…