Ceiling Drywall Repair
For a ceiling crack, V-cut it, fill with setting compound, tape it and feather two thin coats. For a hole, cut it square, add backer strips or repair clips, screw in a new piece of matching drywall (often ⅝"), then tape and mud. Use lightweight or setting compound in thin coats so it doesn't sag, and wear safety glasses. Fix a crack at the wall-ceiling joint with flexible caulk instead of tape.
- Time
- 2–4 h of work over 1–2 days
- Skill
- Moderate
- Drying
- 1–2 h with setting compound, 12–24 h with premixed

What you need
15 items needed · tick what you already own
- Cutting loose paper, scoring drywall, trimming torn tape and opening cracks into a shallow V.
- Cutting damaged drywall out to a clean square or rectangle before you patch.
- Filling holes larger than about 6", and California (butterfly) patches.
- Holding a new piece of drywall in a cut-out hole when there's no stud to screw into.
- Attaching patch pieces and backer boards, and re-securing popped nails.
- Driving screws into backer boards, repair clips and studs, and fixing nail pops.
- Seams, inside corners and recurring cracks. It's stronger than mesh once bedded properly.
- Filling deep holes and gaps, the first coat over mesh tape, and repairs you want to finish in one day.
- Skim coats over patches and tape, and feathering repairs wider. Sands easily.
- Bedding tape, first coats over patches and cracks, and most repairs up to about 4" wide.
- Wide final coats that feather a patch or seam into the wall so it disappears under paint.
- Holding a working amount of compound so you can load and clean your knife on its edge.
- Sanding ceiling repairs and long seams without a ladder at every step.
- Sanding compound makes fine dust. Ceiling work drops it straight toward your eyes.
- Catching sanding dust and drips so the cleanup takes minutes.
Working overhead safely
- Use a stable ladder or step platform. Set it so you can reach the work with your arms bent, not stretched. Move the ladder instead of leaning. A wide step platform is easier on your back than a narrow stepladder for anything over 15 minutes.
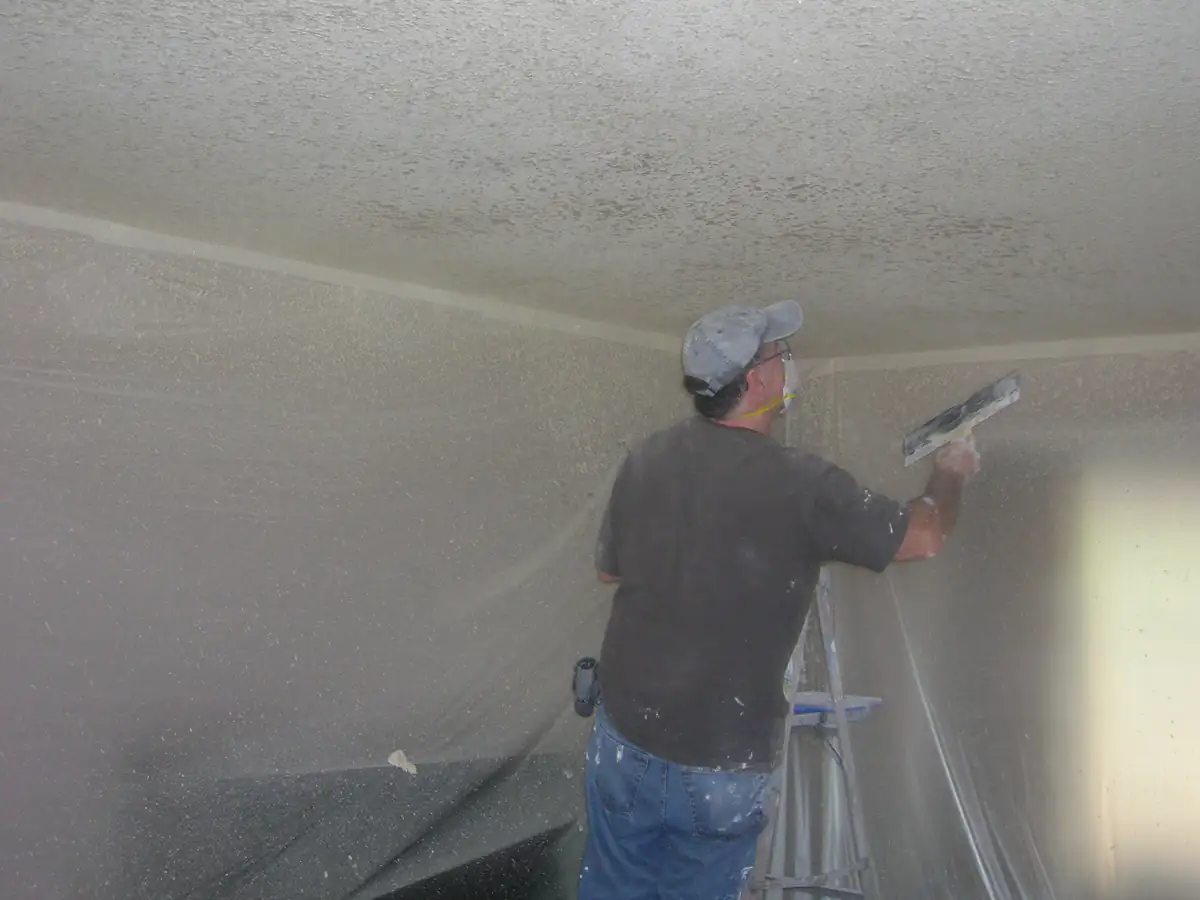
- Protect your eyes. Compound, dust and texture fall straight into your face. Wear safety glasses for every step, and an N95 mask for sanding.
- Cover the room. Lay drop cloths and tape plastic over furniture. Ceiling dust spreads farther than wall dust.
- Turn off power at the breaker before working near a light, fan or smoke detector box.
- Thinner coats, lighter mud. Heavy coats sag and drip. Lightweight all-purpose compound grips better overhead, and setting compound firms up fast so you can move on.
Popcorn ceilings and asbestos: popcorn (acoustic) texture applied before about 1980 may contain asbestos. Don't scrape, sand or cut it until it has been tested. EPA advises having samples taken by a trained, accredited asbestos professional rather than doing it yourself. If it tests positive, leave it alone or have an abatement contractor handle it. If your home was built before 1978, test ceiling paint for lead before you cut, scrape or sand it (EPA, Lead-Safe Practices for Do-It-Yourselfers, checked November 2026).
Ceiling drywall: what's different
| Walls | Ceilings | |
|---|---|---|
| Typical thickness | ½" | ½" sag-resistant or ⅝" (common in newer homes and garages) |
| Framing spacing | Studs 16" on center | Joists or trusses 16" or 24" on center |
| Screw spacing on a patch | 8" along framing | Screws about 12" apart along the joists (nails 7"). Fire-rated ceilings follow the rated design or local code |
| Typical texture | Smooth, orange peel, knockdown | Knockdown, popcorn, smooth |
| Compound | Any type | Lightweight or setting type, thin coats |
Measure the edge of the hole before you buy a patch piece. A ½" patch in a ⅝" ceiling leaves a step you'll spend two extra coats hiding.
How to repair a crack in a drywall ceiling
Straight ceiling cracks usually follow a seam between sheets. Cracks that run across the middle of the ceiling can be shrinkage or a seam that was never taped well.
- Open and clean the crack. Cut a shallow V along the crack with a utility knife. Pull off any loose tape. If the drywall itself moves when you push up on it, drive drywall screws into the joists 2" on each side of the crack, about 12" apart along the joists (nails 7"). On a fire-rated ceiling, such as a garage ceiling under living space, follow the rated design or local code.
- Fill with setting compound. Press a 20 or 45 minute setting compound into the V with a 6" knife and scrape flush.
- Tape it. Bed paper tape in a thin layer of compound and wipe it down firmly. Paper resists ceiling movement better than mesh.
- Two thin finish coats. Use a 10" knife and lightweight compound, keeping each coat thin so it doesn't droop. Feather each one 2–3" wider than the last.
- Sand and finish. Sand with a pole sander and fine screen or sponge, prime, and match the texture before painting.
Cracks where the ceiling meets the wall
A crack along the corner that opens every winter is usually truss uplift: in winter the tops of the roof trusses pick up moisture in the cold attic and arch upward, lifting the ceiling. Tape won't hold. Dig out the old filler, run a bead of paintable flexible acrylic latex caulk into the joint, smooth it and paint. Crown molding nailed only to the ceiling also hides it. More in drywall crack repair.
How to patch a hole in a drywall ceiling
Small holes from hooks, anchors and old smoke detectors take spackle or compound, the same as on a wall (see small holes). Holes from removed fixtures, recessed lights or a foot through the attic floor need a new piece.
- Check above and cut it square. Look into the hole with a flashlight for wires, pipes, ducts and insulation. Then mark a rectangle around the damage and cut it out with a jab saw. If possible, cut so two edges land on the center of a joist.
- Add backing. Screw 1×3 wood strips across any edge that doesn't land on a joist, with 1¼" drywall screws through the ceiling every 6". Or use drywall repair clips on edges between joists.
- Fit the patch. Cut matching-thickness drywall with a ⅛" gap around it. Hold it up (a helper or a T-shaped prop of scrap wood saves your arms) and screw it to the joists and backers, with a screw near each corner and along each edge, and screws about 12" apart along the joists (nails 7"). On a fire-rated ceiling, such as a garage ceiling under living space, follow the rated design or local code.
- Tape and mud. Tape all seams with paper tape and setting compound. Then apply two thin, wide finish coats of lightweight compound.
- Sand, prime and texture. Sand, prime, then match the texture and paint the whole ceiling if you can. Ceiling paint touch-ups rarely blend because light rakes across them.
Holes from old light fixtures and fans
If you're removing a fixture permanently, have the electrical box and wiring dealt with properly first. A live box can't just be covered with drywall; it needs a blank cover plate or an electrician to remove the circuit. Once the box is gone, patch the hole as above. Moving a fan to a new spot? The old hole patches the same way.
Sagging ceiling drywall
A sagging ceiling is not a patch job. A drooping or bellied area usually means a leak has soaked the board, fasteners have pulled through, or the drywall is too thin for the joist spacing. Wet ceiling drywall is heavy and can fall without warning. Keep people out from under it and call a pro. Small sags from popped screws can sometimes be pulled tight with new screws, but a large or wet sag needs that section rehung or replaced.
For brown rings and stains from leaks, see water-damaged drywall. Find and fix the leak, let the area dry fully, then seal it with stain-blocking primer before you paint.
Matching ceiling texture
Knockdown and orange peel ceilings can be matched with aerosol texture, applied on primed compound before paint. Practice on cardboard first. For popcorn, patch kits exist, but have older ceilings tested for asbestos by an accredited asbestos professional before you disturb anything. Details in matching drywall texture.
Related repairs
- Crack repairDrywall crack repair step by step: why cracks come back, when to tape, how to fix hairline cracks, wall-ceiling…
- Large holesHow to patch a large hole in drywall with repair clips, wood backer strips or a California patch. Steps, tools and…
- Small holesHow to patch small holes in drywall with spackle: nail holes, screw holes, anchor holes and dents up to 1½". When…
- How to patch drywallHow to patch a hole in drywall: the right method for nail holes, doorknob holes and big holes, the tools you need,…
- Popcorn ceiling removalPopcorn ceiling removal step by step: asbestos testing first, sealing the room, wetting and scraping, painted…