How to Patch Small Holes in Drywall
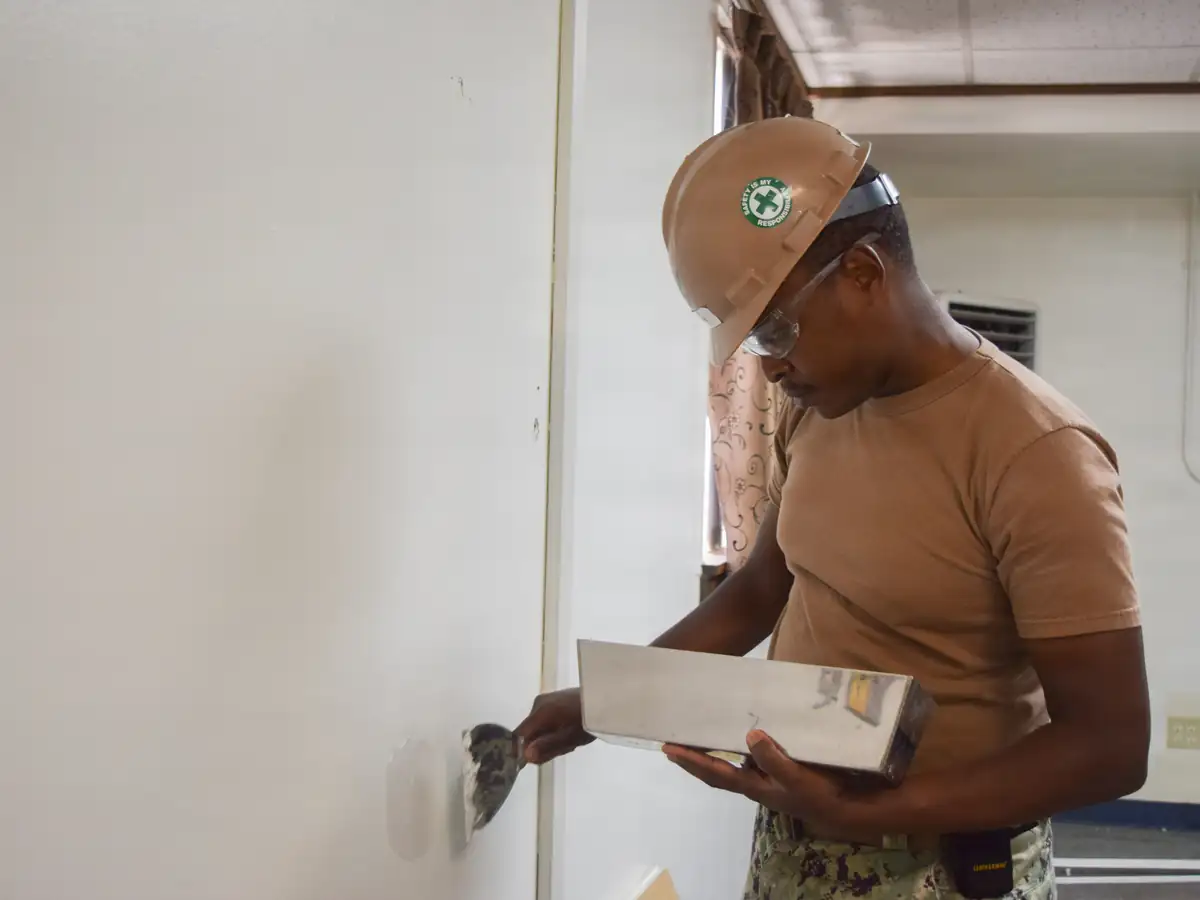
Knock down any raised edges, press lightweight spackle into the hole with a putty knife, scrape it flush, and let it dry. Add a second thin pass to fill the dip left by shrinkage, sand lightly with a fine sponge, then prime and paint. For holes over about 1", use joint compound in two or three layers instead of a single blob of spackle.
- Time
- 15–45 min of work
- Skill
- Easy
- Drying
- 30 min–2 h (overnight for deep fills)

What you need
7 items needed · tick what you already own
- Pressing spackle into nail holes, dents and small holes, and scraping off loose paper and paint.
- Bedding tape, first coats over patches and cracks, and most repairs up to about 4" wide.
- Nail holes, screw holes, dents and holes up to about 1" (our rule of thumb; some spackles are labeled for larger holes, so follow the label). It dries fast and barely shrinks.
- Filling deep holes and gaps, the first coat over mesh tape, and repairs you want to finish in one day.
- Cutting loose paper, scoring drywall, trimming torn tape and opening cracks into a shallow V.
- Sanding small patches by hand with less dust and fewer gouges than sandpaper.
- Sealing patched compound so paint doesn't look dull over it (flashing), and blocking water stains.
How to patch nail holes in drywall
This covers picture-hanging nails, finishing nails from trim, and tack holes. You can do a whole room in 15 minutes.
Before you cut, scrape or sand: in a home built before 1980, old joint compound and texture can contain asbestos, so have them tested by an accredited asbestos professional first (EPA). If the home was built before 1978, test the paint for lead before you sand or scrape it (EPA). Before cutting into a wall or ceiling, turn off power to nearby outlets, switches and fixtures and check for wires and pipes.
- Flatten the edges. Pulling a nail often raises a little crater of paper and paint. Press it flat with the handle of your putty knife, or shave it off with a utility knife. A bump left under the spackle will show.
- Fill the hole. Put a pea-size dab of spackle on a 1½–3" putty knife. Press it into the hole with the blade almost flat, then pull the knife across at a steep angle to scrape off the excess. You want the hole full and the wall around it clean.
- Let it dry and check. Lightweight spackle is usually dry in 30 minutes to an hour. Color-change spackle goes on pink and turns white when it's ready. If it sank, add a second thin swipe.
- Sand and paint. A few light passes with a fine sanding sponge (220 grit or "fine") is enough. Dab on primer, then paint. For a few nail holes on a flat or eggshell wall, many people skip primer and touch up with paint. On semi-gloss, prime or the spot will show.
Spackle or joint compound?
Both fill holes. They behave differently, and picking the right one saves a coat or two.
| Damage | Best filler | Passes | Dry time |
|---|---|---|---|
| Nail holes, pin holes, small dings | Lightweight spackle | 1–2 | 30 min–1 h |
| Screw holes, dents up to ½" | Lightweight spackle | 2 | 1–2 h per pass |
| Anchor holes, holes ½" to 1" | Spackle or all-purpose compound | 2 | 2 h to overnight |
| Holes 1" to 1½" | Setting compound to fill, all-purpose to finish | 2–3 | About 1 h for setting type, then overnight |
| Over 1½" | Mesh patch and compound | 3 | See how to patch drywall |
These sizes are rules of thumb. We use spackle for holes up to about 1". Some spackles are labeled for larger holes; follow the label. Lightweight spackle is fluffy, shrinks very little and dries fast. It's ideal for small, shallow fills and you can paint over it the same day. Across a wide hole it has no strength, so it sags or cracks. Joint compound is stronger and spreads wider and thinner, which is what you need once the hole is bigger than a thumbnail. Setting compound (sold as a powder you mix) hardens chemically, so it fills deep holes with very little shrinkage and won't care how thick it is. The full comparison is in joint compound vs spackle.
How to patch screw holes in drywall
Screw holes are bigger and often ragged, especially if the screw stripped out. They also hide one common problem: a screw hole near a stud may actually be a popped drywall screw.
- Remove the screw and clean the hole. Back the screw out. Trim loose paper with a utility knife and press the edges in slightly so the hole sits a hair below the wall surface. That small dish gives the filler somewhere to sit.
- First fill. Press spackle in hard so it fills the whole depth, then scrape flush. For holes over ¼", don't try to fill it all in one go. Deep spackle shrinks and leaves a dimple.
- Second pass. Once dry (1–2 hours), apply a second thin layer a little wider than the hole. Scrape it smooth with a 6" knife held at a low angle.
- Sand, prime and paint. Sand flush, wipe off dust, prime, paint.
If the screw was holding the drywall to a stud and you see a round bump or a crack around it, that's a nail pop. Drive a new drywall screw 1½" above or below the old one to pull the board tight, then fill both. See how to patch drywall for the coat sequence.
How to remove drywall anchors
Anchors leave the biggest small holes. Get them out cleanly and the patch is easy. Rip them out and you've turned a ¼" hole into a 1" one.
- Plastic expansion anchors: back out the screw, then thread it back in two or three turns and pull straight out with pliers. If it won't budge, push it through the wall with a nail set or screwdriver and let it drop into the cavity.
- Self-drilling (threaded) anchors: these unscrew. Use a Phillips screwdriver and turn counterclockwise. Go slowly so they don't spin and tear the paper.
- Toggle and molly bolts: don't pull them. Remove the bolt so the toggle falls inside the wall. For a molly, cut the collar flush with a utility knife or tap it slightly below the surface with a hammer and nail set.
- Anything stubborn: cut around the flange with a utility knife and tap the anchor in just below the surface. Then fill over it.
How to patch anchor holes and holes up to 1½"
- Prep the hole. Cut away torn paper and crumbling gypsum. Make sure nothing sticks out past the wall face. If the face paper is peeling around the hole, cut it back to where it's firmly stuck and seal the exposed brown paper with a coat of primer, or it will bubble under the compound.
- Fill the depth. For holes over about 1", mix a small batch of 20 or 45 minute setting compound to a peanut-butter consistency and pack it in with a 6" knife. It hardens with very little shrinkage. If the hole is too open to hold filler, stuff a little crumpled paper or a bit of mesh tape inside first as a backstop.
- Skim it flat. When the fill has set, apply a thin coat of all-purpose compound or spackle over it, 2–3" wider than the hole. Keep more pressure on the outer edge of the knife so it feathers to nothing.
- Final coat if needed. Hold a flashlight flat to the wall. If you see a dip or ridge, add one more wide, thin coat once dry.
- Sand, prime and paint. Sand with a fine sponge until you can't feel the edge. Prime the patch, then paint. Primer stops the patch from showing as a dull spot.
Rule of thumb: if the hole is bigger than a golf ball, or the edges keep crumbling as you work, stop filling and use a self-adhesive mesh patch. The steps are in how to patch drywall.
Fixing dents and dings
Dents from doors, furniture and chairs haven't broken through, so they're just shallow fills. Lightly scuff the dent with a sanding sponge so the filler grips, then knock down any torn paper. If your home was built before 1978, test the paint for lead before you sand it (EPA, Lead-Safe Practices for Do-It-Yourselfers, checked November 2026). Spread spackle across the dent with a 6" knife and scrape flat, using the undamaged wall on both sides as a guide. One or two thin passes usually does it. For a long dent, like a chair-rail ding, use a wider knife and pull it lengthwise.
If the paper face is torn and fuzzy, don't spackle straight over it. Seal the torn area with primer first, let it dry, then fill. Otherwise the moisture in the filler lifts the paper and you get a bubble.
Common mistakes with spackle
- Overfilling. A big mound of spackle means more sanding and more dust. Scrape flush while it's wet.
- One deep fill. Spackle shrinks in deep holes. Two thin passes beat one thick one.
- Using a stiff scraper. A stiff blade leaves ridges. A flexible putty knife or taping knife leaves a flat fill.
- Old, dried-out spackle. If it's crumbly or rubbery in the tub, it won't feather. Buy a fresh small tub.
- Painting over raw filler. Even matching paint looks different over unprimed filler, especially on glossier finishes.
- Ignoring texture. On orange peel or knockdown walls, a smooth patch stands out. Dab on a little aerosol texture before primer. See matching drywall texture.
Related repairs
- How to patch drywallHow to patch a hole in drywall: the right method for nail holes, doorknob holes and big holes, the tools you need,…
- Large holesHow to patch a large hole in drywall with repair clips, wood backer strips or a California patch. Steps, tools and…
- Crack repairDrywall crack repair step by step: why cracks come back, when to tape, how to fix hairline cracks, wall-ceiling…
- Ceiling repairCeiling drywall repair step by step: fix ceiling cracks, patch holes from fixtures, work safely overhead, handle…
- Drywall anchorsDrywall anchors compared: plastic, self-drilling, molly and toggle bolts. How to read load ratings, what to use…