Mudding and Taping Drywall
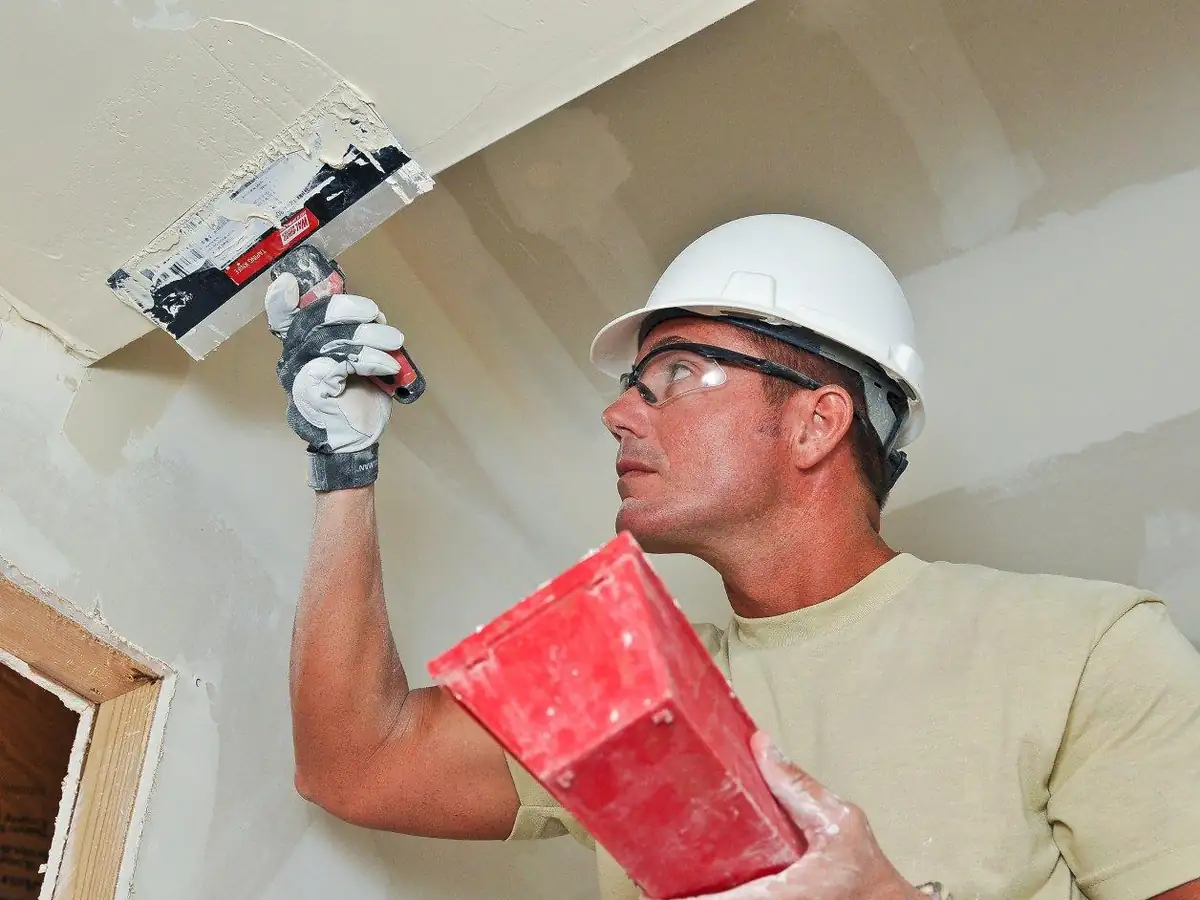
Mix the compound smooth, bed paper tape in a full layer with a 6" knife and squeeze out the excess, then apply a second coat 8–10" wide and a third coat about 12" wide. Let each coat dry, knock off ridges between coats, then sand lightly and prime.
Project overview
- Hands-on time
- 1–2 h
- Start to finish
- 2–3 days
- Drying
- 12–24 h between coats
- Skill
- Easy to moderate

Tools & Materials
10 items needed · tick what you already own
- AmazonBedding tape, first coats over patches and cracks, and most repairs up to about 4" wide.
- AmazonWide final coats that feather a patch or seam into the wall so it disappears under paint.
- AmazonHolding a working amount of compound so you can load and clean your knife on its edge.
- AmazonSeams, inside corners and recurring cracks. It's stronger than mesh once bedded properly.
- AmazonSelf-sticking tape for cracks and flat patch seams. Easy for beginners because nothing has to be bedded first.
- AmazonSkim coats over patches and tape, and feathering repairs wider. Sands easily.
- AmazonFilling deep holes and gaps, the first coat over mesh tape, and repairs you want to finish in one day.
- AmazonSmoothing compound on both sides of an inside corner at once, for cracked corner joints.
- AmazonSanding small patches by hand with less dust and fewer gouges than sandpaper.
- AmazonSealing patched compound so paint doesn't look dull over it (flashing), and blocking water stains.
How to choose each toolAmazon links open a search in a new tab; we may earn a commission. Disclosure
How to tape drywall seams and patches
These steps work for a flat seam, a crack, or the four edges of a new drywall patch. If you are taping a drywall patch, treat each edge of the piece as its own short seam.
Before you cut, scrape or sand: in a home built before 1980, old joint compound and texture can contain asbestos, so have them tested by an accredited asbestos professional first (EPA). If the home was built before 1978, test the paint for lead before you sand or scrape it (EPA). Before cutting into a wall or ceiling, turn off power to nearby outlets, switches and fixtures and check for wires and pipes.
- Prep the joint. Cut away loose paper and scrape off ridges. Fill any gap wider than ⅛" with setting compound first and let it harden. Brush off dust.
- Spread a full bed. With a 6" knife, lay a band of compound about 4" wide and ⅛" thick along the joint. Don't skimp. Dry spots under the tape are what cause bubbles and blisters later.
- Set the paper tape. Center the tape over the joint and press it into the mud. Some finishers dip paper tape in water first so it doesn't pull moisture from the bed too fast.
- Squeeze it out. Hold the knife at about 45° and pull it along the tape with firm, even pressure, working from the center toward each end. Mud should squeeze out both sides. Leave a thin film under the tape, not a dry joint.
- Skim over it. Wipe the excess back across the top of the tape in a thin layer, or let this pass wait for the second coat. Keep the knife wet: a knife with dried mud on its edge drags and leaves lines.
- Second coat, 8–10" wide. Once the first coat is dry, knock off ridges with the knife edge. Then spread a coat with a 10" knife, centered on the joint and feathered out on both sides.
- Third coat, about 12" wide. Thin the mud a little more. Apply a final coat with a 10" or 12" knife, wider than the second, pressing hard on the outer edge so the compound fades to nothing.
- Sand and prime. Sand lightly with a fine sanding sponge until the edges disappear under your fingertips. Prime before painting. See sanding drywall for grits and dust control.
Using mesh tape instead
Mesh tape goes on the dry wall first. Stick it over the joint, pull it tight, and press it flat. Then force setting compound through the mesh with a 6" knife and scrape it thin. Setting compound bonds harder than premixed mud and resists the hairline cracks that mesh is known for. After the first coat, finish with all-purpose compound like any other seam.
Paper or mesh tape for the seam
Most drywall finishing starts with one choice: what goes under the mud. Both tapes work. They just want different handling.
| Job | Best tape | First coat |
|---|---|---|
| Flat seams, long joints, cracks | Paper tape | All-purpose or setting compound |
| Inside corners | Paper tape (it folds on its crease) | All-purpose compound |
| Small patches, quick repairs | Mesh tape | Setting compound |
| Seams around a new drywall piece | Paper or mesh | Setting compound if mesh |
Mesh tape is self-adhesive and easy to place, but it is weaker and more likely to crack when you cover it with premixed mud. Our paper vs mesh tape guide goes deeper.
Mixing and loading compound
Lumpy or stiff mud causes most taping problems. Spend two minutes on the mix and the rest of the job goes better.
- Stir premixed compound first. Even straight from the bucket, give it a stir with a mixing paddle or a clean knife. It loosens up and gets rid of the dry crust on top.
- Thin it for taping. For bedding tape, add a little clean water, a few tablespoons at a time, until the mud is like thick yogurt or soft peanut butter. It should hold on the knife without dripping but spread without dragging.
- Mix setting compound in small batches. Powder goes into water, not the other way. Mix only what you can use before it sets. A 20 minute product gives you about 20 minutes of working time, so mix only what you can spread in 15.
- Keep the pan clean. Scrape the sides of the mud pan often and never put dried bits back in. One hard crumb drags a line through every pass. Wash the pan and knives right away when you finish.
Load the knife by scooping a ridge of mud onto one side of the blade, about two-thirds of the way across. Scrape the knife on the edge of the pan to keep the other side clean.
Knife angle and pressure
- Steep for bedding. About 45° with firm pressure squeezes mud out from under the tape.
- Low for finishing. Drop to about 15–30° for the second and third coats. A lower angle leaves more mud and a smoother surface.
- Pressure on the outside edge. On wide coats, push harder on the edge away from the joint. That is how a 12" coat ends paper-thin instead of with a ridge.
- Long, steady strokes. Stopping mid-stroke leaves a mark. Start a little past one end and pull through in one pass if you can.
Inside and outside corners
Inside corners: fold paper tape along its center crease. Butter both sides of the corner with mud, press the tape in, and squeeze it out one side at a time with a 6" knife, or use an inside corner knife to do both at once. Finish one side, let it dry, then the other, so you don't gouge the wet side.
Outside corners: these need corner bead, not flat tape. A dented metal or vinyl bead can be cut out and replaced, or covered with paper-faced bead. Run each coat from the bead's nose out onto the wall, using the bead as a screed. Metal-reinforced corner tape is a lighter option for corners that aren't square.
Drying time between coats
| Compound | Ready for the next coat | Notes |
|---|---|---|
| All-purpose premixed | 12–24 h | Turns from gray to uniform white when dry. Cold, humid rooms take longer. |
| Lightweight premixed topping | 8–24 h | Sands easily. Use for second and third coats, not for bedding tape. |
| Setting compound, 20 or 45 min | About 1–2 h | Sets chemically, so you can tape and coat in one day. |
You don't need to sand between coats. Scrape ridges and crumbs off with the knife, and sand lightly only if a ridge won't scrape off. A fan and a little heat speed drying, but keep heaters from blowing directly on the joint, or it can crack.
Levels of drywall finish
The industry describes finishing in levels from 0 to 5. Most repairs in a painted living space aim for Level 4.
| Level | What it means | Where it's used |
|---|---|---|
| 0 | No taping or compound | Temporary walls |
| 1 | Tape bedded in compound, nothing else | Attics, above ceilings |
| 2 | Tape plus one thin coat, screws covered | Garages, under tile |
| 3 | Tape plus one more coat on seams, two on screws and bead | Walls under medium or heavy texture |
| 4 | Tape plus two coats on flat seams, one on inside corners, three on screws and bead, sanded smooth | Flat paint and light texture; sheen paints can show seams |
| 5 | Level 4 plus a thin skim coat over the whole surface | Glossy paint, dark colors, strong side lighting |
For Level 5, see how to skim coat drywall.
Common mistakes
- Too little mud under the tape. The tape lifts or bubbles later. If you already have that problem, see fixing drywall tape bubbles.
- Coats too narrow. A 6" final coat over a seam leaves a visible hump. Go wider, not thicker.
- Rushing the dry. Wet mud under a new coat shrinks and cracks. Wait until it's white all the way through.
- Dirty tools. Dried crumbs in the pan or on the knife leave grooves in every pass.
- Mesh with premixed mud on the first coat. It works, but it cracks more often. Use setting compound over mesh.
- Over-sanding. Sanding into the paper tape fuzzes it. Add another thin coat instead of sanding harder.
Older home? Joint compound in homes built before 1980 may contain asbestos. Don't sand or scrape old seams until an accredited asbestos professional has tested them (EPA). If your home was built before 1978, test the paint for lead before you sand or scrape it (EPA, Lead-Safe Practices for Do-It-Yourselfers, checked November 2026).
Related guides
- Drywall tapePaper vs mesh drywall tape compared: strength, ease of use, corners, which compound to use, crack resistance, how…
- Sanding drywallSanding drywall the right way: when to use a sponge, pole sander or drywall sander, which grit to use, wet…
- Skim coat drywallHow to skim coat drywall with joint compound: when a wall needs it, sealing torn paper, thinning the mud, roller…
- Types of drywall mudDrywall mud types explained: all-purpose, lightweight, taping, topping and hot mud set times, bucket vs box vs…