How to Skim Coat Drywall
Seal torn paper with a shellac or oil-based primer, thin all-purpose joint compound to a pancake-batter consistency, roll it on and flatten it with a 10" or 12" knife, then repeat at a right angle once it dries. Sand with 150 grit, then prime and paint.
- Time
- 3–6 h per wall over 2–3 days
- Skill
- Moderate
- Drying
- 12–24 h between coats

What you need
11 items needed · tick what you already own
- Wide final coats that feather a patch or seam into the wall so it disappears under paint.
- Bedding tape, first coats over patches and cracks, and most repairs up to about 4" wide.
- Holding a working amount of compound so you can load and clean your knife on its edge.
- Skim coats over patches and tape, and feathering repairs wider. Sands easily.
- Sealing patched compound so paint doesn't look dull over it (flashing), and blocking water stains.
- Cutting loose paper, scoring drywall, trimming torn tape and opening cracks into a shallow V.
- Sanding small patches by hand with less dust and fewer gouges than sandpaper.
- Sanding ceiling repairs and long seams without a ladder at every step.
- Raking light across the wall shows ridges and dips you can't see in normal light.
- Catching sanding dust and drips so the cleanup takes minutes.
- Sanding compound makes fine dust. Ceiling work drops it straight toward your eyes.
When a wall needs a skim coat
Spot patching fixes one hole. Skimming fixes a surface. It's the right call when:
- The paper face is torn. Removing wallpaper often peels the top layer of drywall paper and leaves brown, fuzzy patches.
- The wall is patchy. Years of small repairs, sanded-through spots and old anchor holes make a wall look blotchy under paint.
- The paint is glossy. Semi-gloss and gloss show every seam and ridge, especially with light coming across the wall from a window.
- You need a Level 5 finish. Level 5 is a full skim over finished drywall. It hides the difference between paper and compound so the whole wall looks the same.
- You're removing texture. Skimming over light orange peel can give you a smooth wall. Heavy texture or popcorn needs other steps first; see drywall texture.
If the drywall itself is soft, crumbling or stained from a leak, a skim coat won't hold. Fix that first with the water damaged drywall guide.
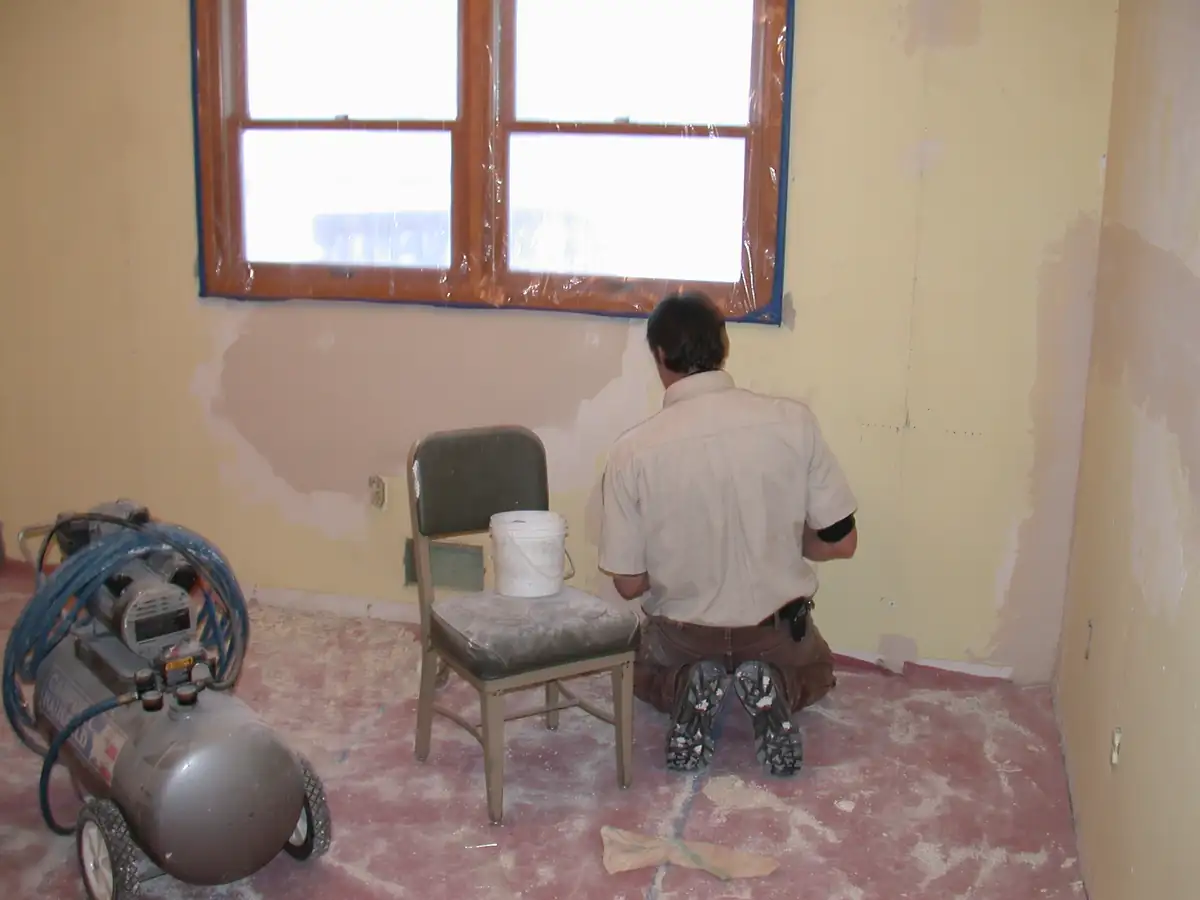
Seal torn paper first
This is the step people skip, and it's the reason most skim coats fail. When wet compound hits exposed brown paper, the paper soaks up the water, swells and lifts. You get bubbles all over the wall.
Before you cut, scrape or sand: in a home built before 1980, old joint compound and texture can contain asbestos, so have them tested by an accredited asbestos professional first (EPA). If the home was built before 1978, test the paint for lead before you sand or scrape it (EPA). Before cutting into a wall or ceiling, turn off power to nearby outlets, switches and fixtures and check for wires and pipes.
- Cut off loose paper. Trim any flaps or curled edges with a sharp utility knife. Don't pull them, or they tear farther.
- Remove wallpaper glue. Wash the wall with warm water and a sponge until it no longer feels slick. Let it dry fully.
- Prime with shellac or oil-based primer. Brush or roll a coat over all torn areas, a few inches past the edges. Ordinary water-based drywall primer (PVA) is not enough here; it can make the paper bubble too. Use shellac, oil-based primer, or a sealer labeled for torn drywall paper.
- Check for bubbles. Once the primer dries, cut out any bubbles with a utility knife and prime the spot again.
Shellac and oil primers have strong fumes. Open windows, run a fan blowing out, and wear a respirator rated for organic vapors if you're doing a whole room.
Thinning joint compound for a skim coat
Use all-purpose or lightweight premixed joint compound. Setting compound is too hard to sand over a large area and sets before you can finish a wall.
- Roller method: thin it to about the thickness of pancake batter. It should roll on without dripping off the roller.
- Knife method: keep it thicker, like soft yogurt, so it stays on the knife.
Add water a little at a time and mix with a paddle on a drill, at low speed so you don't whip in air. Bubbles in the mud become pinholes on the wall. Mix only what you'll use that day.
How to skim coat a wall step by step
The roller-and-knife method is faster and easier for beginners. You put the mud on with a roller and use the knife only to flatten it.
- Prep the room. Lay drop cloths, tape off trim and outlets, and remove cover plates. Fill holes deeper than ⅛" ahead of time so they don't sink.
- Roll on a section. Use a ⅜" or ½" nap roller. Roll compound onto a section about 4' wide, floor to ceiling, in a layer roughly ⅛" thick.
- Flatten it. Pull a 10" or 12" knife through the wet mud in long strokes, top to bottom, at a low angle. You're scraping most of it back off. Keep a thin, even film. Wipe the knife on the pan edge after each pass.
- Overlap and keep moving. Roll the next section, overlapping the last by a few inches, then knife it. Work while the edge is still wet so the sections blend.
- Let it dry. Wait until the whole wall is evenly white, usually overnight. Scrape off ridges and crumbs with the knife.
- Second coat at a right angle. Roll and knife again, this time pulling the knife side to side. Crossing the first coat fills the low lines it left.
- Check with light. Hold a work light flat against the wall. Mark any dips with a pencil and fill them with a quick spot coat.
Knife-only method
Experienced finishers often skip the roller and spread mud straight from a pan with a 12" knife or a wide trowel. It uses less material and leaves fewer lines, but it takes practice to keep the coat even. If you're new to it, practice on a closet wall first.
How many coats
| Wall condition | Coats | Notes |
|---|---|---|
| Glossy paint, slightly patchy | 1–2 | Scuff-sand and prime with a bonding primer first |
| Torn paper after wallpaper | 2 | Seal with shellac or oil primer before the first coat |
| Level 5 over new drywall | 1 | A very thin, even coat over the whole surface |
| Light texture you want gone | 2–3 | Knock down high points before the first coat |
Each coat should be thin. If a coat goes on thicker than about 1/16", it takes longer to dry and is more likely to crack.
Sanding and priming
A good skim coat needs only a light sanding. Use a pole sander with a 150 grit screen or paper for the walls, and a sanding sponge near corners and trim. Finish with a quick pass at 220 if you're painting with gloss. Stop when the surface feels smooth and you can't see ridges in raking light. Our sanding drywall guide covers dust control.
Vacuum or wipe off the dust, then roll on a full coat of drywall primer. Skim coats soak up paint, so skipping primer gives you a flat, blotchy finish.
Whole wall or a section
You can skim just part of a wall, but the edge of the skim will show through paint unless you feather it out wide. Stop a section at a natural break: an inside corner, a door or window casing, or the ceiling line. If damage covers more than about a third of a wall, skimming the whole wall usually looks better and takes only a little longer.
Common mistakes
- Skipping the sealer on torn paper. The paper bubbles under the mud.
- Coats too thick. Thick mud dries slowly and cracks.
- Working in sun or drafts. The edges dry before you can blend the next section.
- Old wallpaper paste left on. Compound won't bond to it and can peel off in sheets.
Pre-1980 home? Old joint compound and some textures may contain asbestos. Have it tested by an accredited asbestos professional before you sand or scrape existing surfaces (EPA). If the home was built before 1978, test the paint for lead before you scuff-sand or scrape it (EPA, Lead-Safe Practices for Do-It-Yourselfers, checked November 2026).
Related guides
- Taping and muddingMudding and taping drywall step by step: mixing compound, bedding paper or mesh tape, three coats at 6, 10 and 12…
- Sanding drywallSanding drywall the right way: when to use a sponge, pole sander or drywall sander, which grit to use, wet…
- Drywall textureDrywall texture types (orange peel, knockdown, popcorn, skip trowel) and how to texture a drywall patch so it…
- Types of drywall mudDrywall mud types explained: all-purpose, lightweight, taping, topping and hot mud set times, bucket vs box vs…
- Drywall primerDrywall primer explained: PVA vs primer-sealer, the right primer for patches, new drywall, stains and torn paper,…