How to Sand Drywall
Wait until the compound is fully dry, then sand with a fine-grit sponge or pole sander using light, even pressure. Check the surface with a light held flat to the wall, finish with 220 grit if you're painting with gloss, and stop before you reach the paper.
- Time
- 15 min per patch, 1–2 h per room
- Skill
- Easy
- Drying
- Sand only when fully dry
What you need
6 items needed · tick what you already own
- Sanding small patches by hand with less dust and fewer gouges than sandpaper.
- Sanding ceiling repairs and long seams without a ladder at every step.
- Raking light across the wall shows ridges and dips you can't see in normal light.
- Sanding compound makes fine dust. Ceiling work drops it straight toward your eyes.
- Catching sanding dust and drips so the cleanup takes minutes.
- Bedding tape, first coats over patches and cracks, and most repairs up to about 4" wide.
How to sand a drywall patch
Before you cut, scrape or sand: in a home built before 1980, old joint compound and texture can contain asbestos, so have them tested by an accredited asbestos professional first (EPA). If the home was built before 1978, test the paint for lead before you sand or scrape it (EPA). Before cutting into a wall or ceiling, turn off power to nearby outlets, switches and fixtures and check for wires and pipes.
- Make sure it's dry. Premixed compound turns from gray to bright white when dry. If it's soft or cool to the touch, wait. Damp mud gums up the paper and tears.
- Knock off high spots first. Scrape ridges and crumbs with a 6" knife. It's faster than sanding them and makes less dust.
- Sand the edges, not the center. Use light pressure and work in small circles or long, overlapping strokes. Focus on blending the outer edges into the wall. The middle usually needs little.
- Feel for edges. Run your fingertips across the patch with your eyes closed. If you can feel a step or ridge, keep going. If it's smooth, stop.
- Check with raking light. Hold a work light or phone flashlight flat against the wall, shining across the patch. Shadows show dips and bumps. Circle low spots in pencil for another thin coat.
- Wipe it down. Brush or vacuum off the dust, then wipe with a barely damp cloth. Primer won't stick well to dust.
Pick a drywall sander
The right tool depends on how much surface you're sanding. Most repairs need nothing more than a sponge.
| Tool | Best for | Worth it when |
|---|---|---|
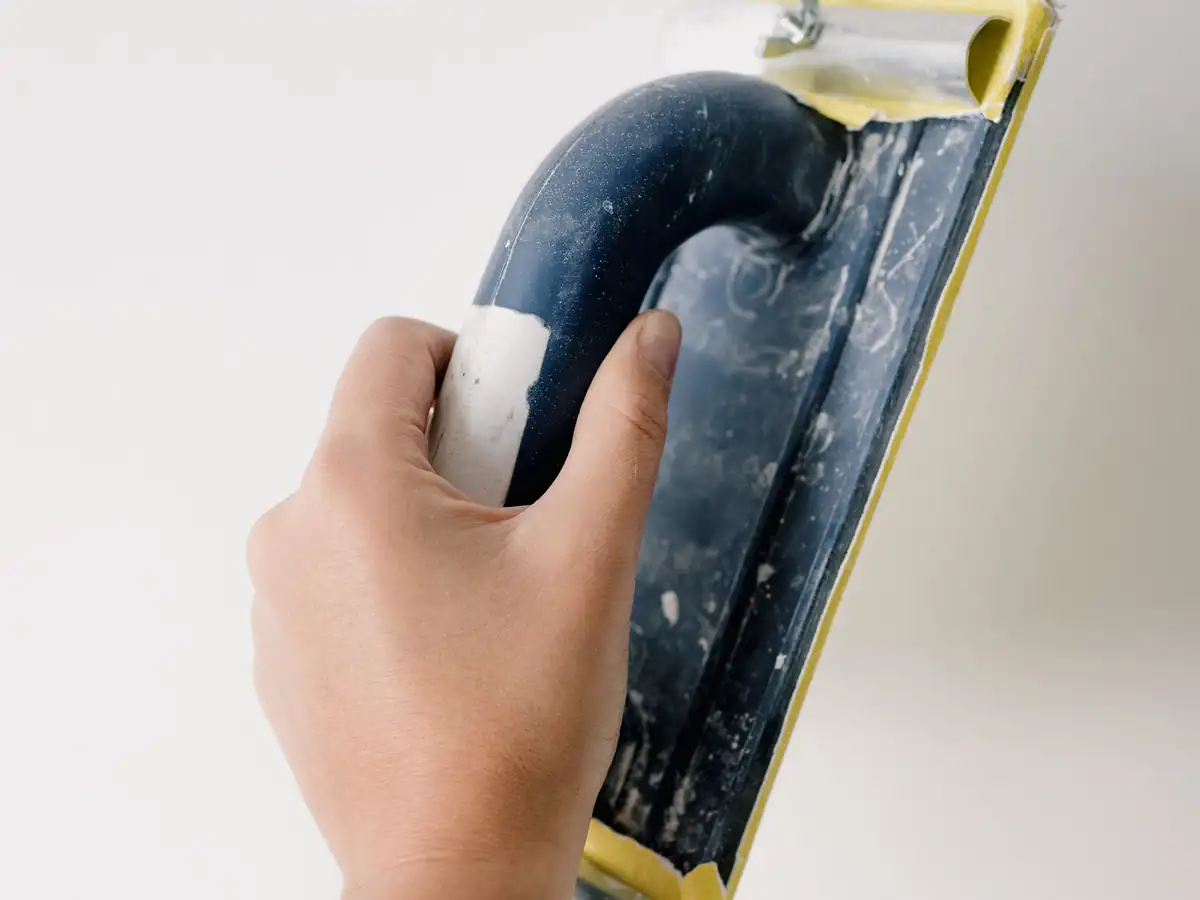
| Sandpaper on a block | Small flat patches | You already have paper and want a flat surface |
| Drywall sanding sponge | Patches, cracks, corners, wet sanding | Almost always. It's the default for repairs |
| Pole sander | Full seams, walls, ceilings, skim coats | You have more than a few feet of seam or anything overhead |
| Powered drywall sander with vacuum | Whole rooms, new drywall, ceilings | You're finishing several rooms or a full basement |
| Random orbit sander | Small, hard spots of setting compound | Only with a dust shroud and vacuum. It cuts fast and can gouge |
A powered drywall sander with a built-in vacuum hose is the cleanest choice for a big job, but it's overkill for a patch. Many tool rental counters carry them by the day.
Which grit to use
| Grit | Use it for |
|---|---|
| 80–120 | Hard setting compound or heavy ridges only. Scratches premixed mud. |
| 150–180 | Most sanding of joint compound and patches. Check your compound's label |
| 180–220 | A light final pass before glossy paint, or touching up primer |
Sanding sponges are often labeled fine, medium and coarse instead of grit numbers. Fine suits most compound. USG recommends 150 grit paper or 220 grit mesh for its lightweight all-purpose compound (USG, checked November 2026); follow the sanding guidance on your compound's label. Dual-angle sponges have a slanted edge that reaches into inside corners.
Sanding screens are an open mesh that fits a pole sander. They don't clog the way paper does because dust falls through. Use a fine screen for general sanding, as your compound's label recommends. Save 120 for hard setting compound or heavy ridges. Replace them when they stop cutting.
Sanding seams and walls with a pole sander
- Set the head flat. Hold the pole so the head lies flat on the wall. If it flips, you're pushing too hard or at too steep an angle.
- Sand in long strokes. Work along seams, not across them, using light, even pressure. Let the sander's weight do most of the work.
- Change paper or screens often. Clogged paper polishes the surface instead of cutting it.
- Finish corners by hand. A pole sander can't get into inside corners without gouging the other side. Use the angled edge of a sponge.
Wet sanding drywall
Wet sanding uses a damp sponge instead of sandpaper. It makes almost no dust, which helps in occupied homes. Wring the sponge out so it's damp, not dripping. Rub lightly in small circles, rinse often, and don't scrub. Too much water dissolves the compound and can soak the paper face. It works well for small patches and light touch-ups, but it won't cut down high ridges the way dry sanding does.
Dust control
Drywall dust is fine, gets everywhere and irritates lungs. A little planning saves an afternoon of cleaning.
- Close off the room. Shut doors and tape plastic sheeting over open doorways. Cover furniture and the floor with drop cloths.
- Turn off the HVAC. Shut off the furnace or AC and cover supply and return vents with plastic and painter's tape so dust doesn't travel through the house or clog the filter.
- Wear an N95. A paper dust mask isn't enough. Add safety glasses, especially when sanding overhead.
- Vacuum with the right filter. Use a shop vac with a fine-dust or HEPA filter, ideally with a bag. A household vacuum or a shop vac with a standard filter blows fine dust right back into the room and can burn out the motor.
- Clean up damp. Mop hard floors and wipe surfaces with a damp cloth. Sweeping just lifts the dust again.
Homes built before 1980: older joint compound and ceiling texture can contain asbestos. Don't sand, scrape or cut existing finishes until an accredited asbestos professional has tested them (EPA). If it's positive, leave it to a licensed abatement contractor. If your home was built before 1978, test the paint for lead before you sand it (EPA, Lead-Safe Practices for Do-It-Yourselfers, checked November 2026). For lead-positive paint, EPA recommends an N-100 respirator, misting the surface before you sand, and HEPA cleanup.
How to tell when you're done
Stop sooner than you think. The goal is smooth, not perfect, because primer and paint fill tiny scratches.
- The patch edges can't be felt with your fingertips.
- Raking light shows no shadows, ridges or knife lines.
- There are no shiny, polished spots left, which mean the paper is clogged.
- You don't see brown paper or mesh showing through.
Don't sand through the paper
Drywall paper and paper tape fuzz up when you sand them. The raised fibers show through paint as a rough patch. If you see fuzz or brown paper, stop sanding that spot. Let it dry, seal it with a coat of primer, and apply a thin coat of compound over it. Then sand that coat lightly. More sanding only makes it worse.
If low spots keep showing up, add another thin coat instead of sanding down the area around them. See taping and mudding drywall for coat widths.
Related guides
- Taping and muddingMudding and taping drywall step by step: mixing compound, bedding paper or mesh tape, three coats at 6, 10 and 12…
- Skim coat drywallHow to skim coat drywall with joint compound: when a wall needs it, sealing torn paper, thinning the mud, roller…
- How to patch drywallHow to patch a hole in drywall: the right method for nail holes, doorknob holes and big holes, the tools you need,…
- Drywall repair toolsThe drywall repair tools you actually need: an 8-item starter kit, the tools for each repair, what pros use that…
- Drywall primerDrywall primer explained: PVA vs primer-sealer, the right primer for patches, new drywall, stains and torn paper,…