How to Fix Bulging Drywall and Nail Pops
For nail pops, drive a drywall screw 1½" from each popped nail, set or pull the nail, and fill both with compound. For a seam that bulges, sand or shave down the crown and feather it out wider. If the bulge is soft, damp or stained, or the wall bows along a whole stud, it's water or framing, and that needs a different fix.
- Time
- 30 min to 3 h of work over 1–2 days
- Skill
- Easy to moderate
- Drying
- 12–24 h between coats

What you need
10 items needed · tick what you already own
- Driving screws into backer boards, repair clips and studs, and fixing nail pops.
- Attaching patch pieces and backer boards, and re-securing popped nails.
- Pressing spackle into nail holes, dents and small holes, and scraping off loose paper and paint.
- Bedding tape, first coats over patches and cracks, and most repairs up to about 4" wide.
- Wide final coats that feather a patch or seam into the wall so it disappears under paint.
- Skim coats over patches and tape, and feathering repairs wider. Sands easily.
- Sanding small patches by hand with less dust and fewer gouges than sandpaper.
- Cutting loose paper, scoring drywall, trimming torn tape and opening cracks into a shallow V.
- Raking light across the wall shows ridges and dips you can't see in normal light.
- Sealing patched compound so paint doesn't look dull over it (flashing), and blocking water stains.
How to fix nail pops
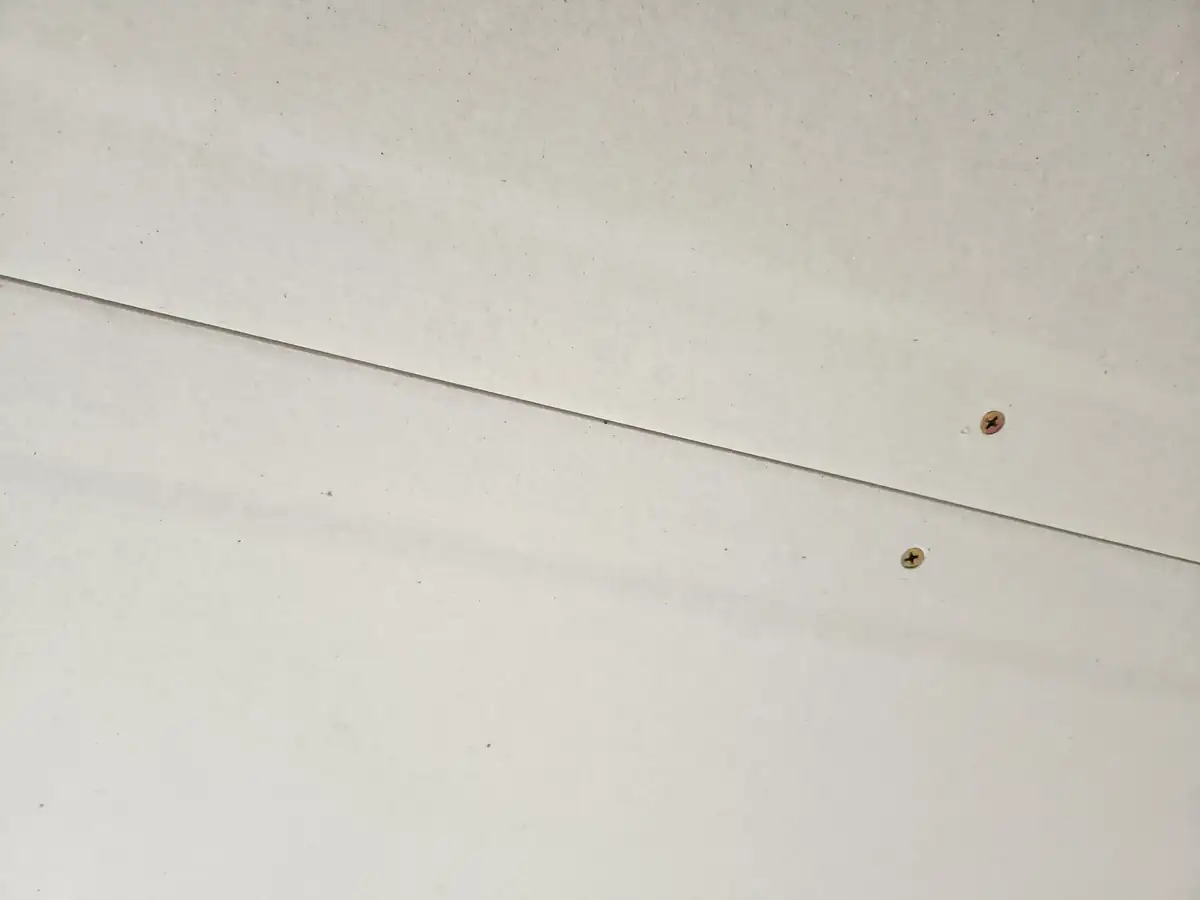
Nail pops happen when the wood framing shrinks as it dries out, usually in the first year or two after a house is built. The nail stays where it was, the stud pulls back, and the gap pushes the nail head through the compound. Hammering the nail back in doesn't work. It pops again because the wood still doesn't grip it. The fix is a screw.
Before you cut, scrape or sand: in a home built before 1980, old joint compound and texture can contain asbestos, so have them tested by an accredited asbestos professional first (EPA). If the home was built before 1978, test the paint for lead before you sand or scrape it (EPA). Before cutting into a wall or ceiling, turn off power to nearby outlets, switches and fixtures and check for wires and pipes.
- Press the board tight. Push the drywall firmly against the stud with your hand next to the popped nail. If you can see a gap behind the board, that's why it popped.
- Add a screw. Drive a 1¼" coarse-thread drywall screw into the stud about 1½" above or below the nail, while you hold the board tight. Set the head just below the surface, so it dimples the paper without tearing it. On a bad pop, add a second screw on the other side.
- Set or pull the nail. Either drive the nail head below the surface with a hammer and nail set, or pull it out with pliers or a cat's paw. Pulling is the surest way to stop it popping again. If you pull it, fill the hole like any other nail hole.
- Clean up the spot. Scrape off loose paint and cracked compound with a putty knife. Cut away any torn paper with a utility knife.
- Fill two or three times. Fill the screw and nail dimples with all-purpose compound using a 6" knife. Let it dry, then apply a second thin coat a little wider. Compound shrinks as it dries, so a single coat usually leaves a small dip.
- Sand, prime and paint. Sand lightly, spot-prime, then paint. Spot repairs on a flat wall show, so paint to the nearest corners if you can.
Many pops at once? Fix them all at the same time, after the house has been through a full heating season. Pops that show up in years one and two usually stop after that. If they keep coming on an older house, look for moisture or movement.
What causes bulging drywall
Run your hand along the wall and hold a work light flat against it. The shape and feel of the bulge tells you a lot.
| What you see | Likely cause | How to tell |
|---|---|---|
| Small round bump or a cracked circle, about the size of a dime | Nail pop | Pops line up in vertical rows along the studs, and the rows are usually 16" apart. Common in the first year or two of a new house. |
| A long, raised hump along a seam, 6–12" wide | Crowned or overbuilt seam | Firm to the touch. Hold a straightedge across it and it rocks on the high spot. |
| A long bow from floor to ceiling, following one stud | Bowed or twisted stud | A 4' level held vertically shows a curve along the whole height. |
| Soft, swollen or wavy area, often with a stain | Moisture swelling | Gives when pressed. Moisture meter reads higher than the dry wall nearby. |
| Board moves or flexes when you push it, with popped fasteners or cracked seams around it | Loose board | You can see the edge shift or hear it tick against the framing. |
When a bulge isn't a drywall problem: a soft or stained bulge, a ceiling that sags between joists, or a bulge that grows week to week points to a leak. Read water damaged drywall before you do anything else. Long cracks that open and close with the seasons, sticking doors and sloping floors along with the bulge point to structural movement. Have a contractor or structural engineer look at it.
Drywall seams bulging
A drywall seam bulge is usually a crowned seam: too much compound was built up over the tape and it wasn't feathered out wide enough. It shows as a long hump, especially in raking light from a window. It can also come from a butt joint (where two short ends of the boards meet), which has no tapered edge to hide the tape and compound.
How to fix a crowned seam
- Find the high spot. Hold a straightedge or the edge of a 10" knife across the seam. Mark where it rocks with a pencil. The goal is to lower the center and widen the edges.
- Sand or shave it down. Sand the crown with a sanding sponge or pole sander, using 120 grit, then 150. On a hard, thick hump, carefully shave the high spot with a sharp 6" knife held at a low angle. Stop if you reach the tape. Sanding through it means re-taping.
- Feather it wider. Apply a thin coat of all-purpose compound on each side of the seam with a 10" or 12" knife, not on the center. Keep pressure on the inside edge of the knife so the coat is thickest at the outside edges and thinnest over the seam. On a butt joint, the finished seam may need to be 16–20" wide to hide.
- Repeat once if needed. Let it dry, check with the straightedge again, and add a final wide coat.
- Sand, prime and paint. Check with a work light held flat to the wall, then prime and paint.
The full feathering technique is in taping and mudding drywall.
A seam that bulges from loose tape
If the seam is hollow when you press it instead of firm, the tape has lifted off the compound. That's a different fix: see drywall tape bubbles.
Fixing a loose board
A loose board flexes when you push it, and it usually comes with nail pops and cracked seams around it. The fix is more fasteners.
- Find the studs. Use a stud finder or the existing nail rows. Studs are usually 16" on center.
- Screw it back. Push the board tight and drive drywall screws into each stud every 8" along the edges and 12" in the middle, ⅜" in from the edges. On a ceiling, space screws about 12" apart along the joists (nails 7"). On a fire-rated ceiling, such as a garage ceiling under living space, follow the rated design or local code.
- Repair the seams. If seams cracked when the board moved, cut out the loose tape and re-tape them. Then fill the screw heads and finish as usual.
Bowed studs and bigger problems
A long bow along one stud means the stud itself is warped. Lumber can bow or twist as it dries. There's no good surface fix: piling compound on it only makes the bulge wider. You have two choices. Live with a mild bow, since most aren't noticeable once furniture is against the wall. Or cut the drywall open along the stud and fix the framing. A carpenter can plane the high side, or cut a saw kerf partway through the stud, pull it straight and reinforce it with a board screwed alongside. Then the drywall goes back with a patch. See large hole in drywall for that patch.
Call a pro when the bulge:
- Is soft, damp, stained or smells musty (a leak inside the wall).
- Is on a ceiling and sags between joists.
- Gets bigger over weeks or months.
- Comes with doors and windows that stick, or wide diagonal cracks at the corners of openings.
Before you drive screws or cut: stay away from the area directly above and below outlets and switches, where wires run along studs. In homes built before 1980, have joint compound tested by an accredited asbestos professional before you sand or shave it. EPA advises against taking samples yourself. If your home was built before 1978, test the paint for lead before you scrape or sand it (EPA, Lead-Safe Practices for Do-It-Yourselfers, checked November 2026).
Related repairs
- Crack repairDrywall crack repair step by step: why cracks come back, when to tape, how to fix hairline cracks, wall-ceiling…
- Drywall tape bubblesDrywall tape bubbles and peeling tape: what causes them, how to fix a small bubble in minutes, when to cut out and…
- Small holesHow to patch small holes in drywall with spackle: nail holes, screw holes, anchor holes and dents up to 1½". When…
- Water damaged drywallWater damaged drywall repair: how to dry the wall, test it with a moisture meter, decide patch or replace, cut out…
- Screws vs nailsDrywall screws vs nails: why screws hold better, coarse vs fine thread, the right length for ½" and ⅝" board,…